Staying connected in Toronto: eSIM and data for visitors
By Declan Moss
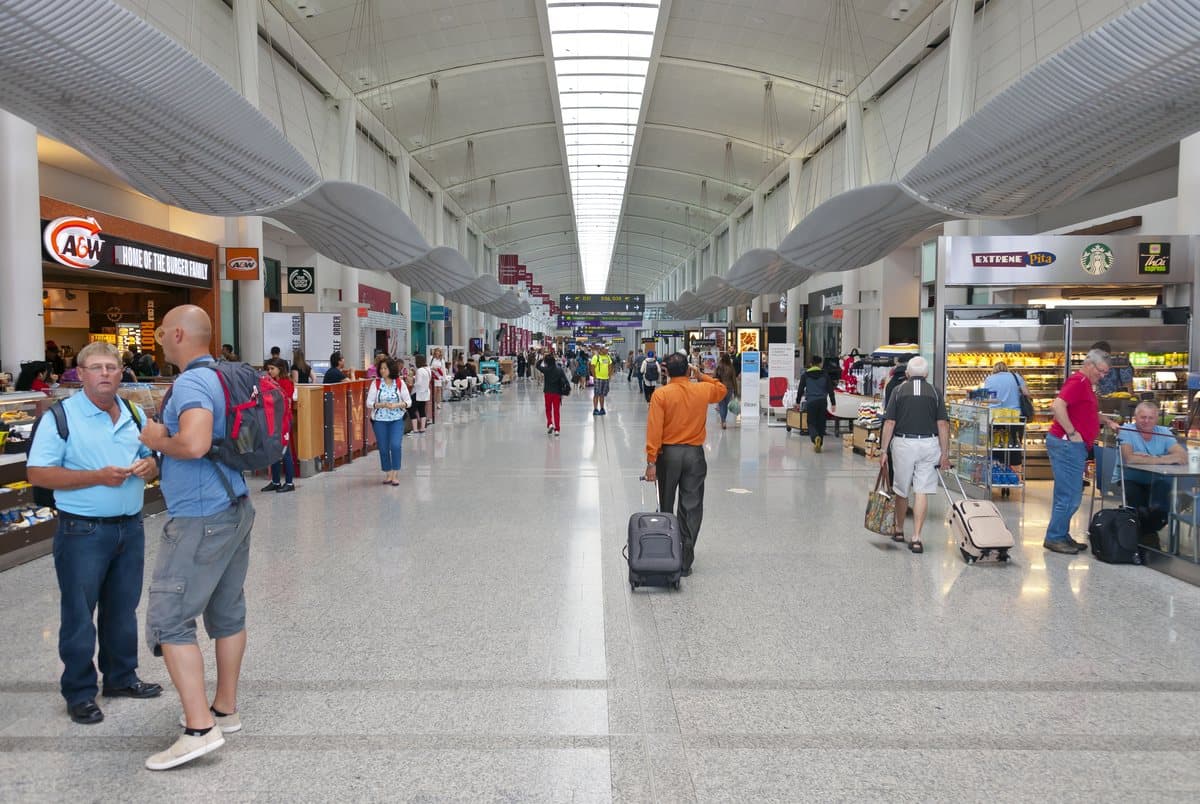
Pearson Terminal 1's gate concourse, photographed on 27 June 2015. An archival airport view, not the arrivals SIM kiosks or evidence of current connectivity. Photo: Daniel Case, Wikimedia Commons, CC BY-SA 3.0. Resized and compressed.
For a short Toronto trip built around maps and messaging, choose a Canada travel eSIM and prepare it before you fly, with the travel line selected for data and the home line switched off. If Canada is already included in your home plan, use that instead; if you need a Canadian number for ordinary calls and texts, choose a plan that explicitly includes them.
The point is to leave Pearson with a working phone, not spend your first hour comparing packages beside a baggage carousel. A data-only eSIM does not suit someone who needs local phone calls or must stay reachable on their usual number by SMS.
Which eSIM makes sense for Toronto?
An eSIM is a SIM profile downloaded to your phone instead of inserted as a card. The useful distinction is what you buy: data for apps, or data plus a phone number and calling service. Match the package to how you will use the phone:
- For maps, bookings and messaging apps, start with a Canada travel eSIM from Airalo or Nomad. A data-only package does not include ordinary voice calls or SMS.
- For local calls and texts as well as data, start with Lucky Mobile's visitor eSIM or chatr's Canadian service. There are more services to compare, including the payment and renewal settings.
- If Canada is already included in your home service, use your existing SIM and plan, with the Canada allowance and restrictions attached to your exact plan.
- For a phone without eSIM support, or a preference for in-person setup, get a physical SIM from chatr at Pearson. You need a compatible SIM tray and an open kiosk.
Airalo's Canada page separates data packages from packages with calls and texts. Nomad's Canada page describes its installation process and supports hotspot use. These are useful places to compare a short trip, not a reason to assume every package under the same brand includes the same service.
Lucky Mobile has a visitor-specific eSIM page offering talk, text and data. It asks which province you are landing in and lists a credit card among the setup requirements. For Toronto, select Ontario. chatr sells both physical SIMs and eSIMs at Pearson, with staff help for activation.
My starting choice for a sightseeing visit is the travel eSIM. Buy the package that fits the trip, not the largest allowance on the screen. Choose the Canadian voice-and-text route when a local number solves an actual problem, such as calling a restaurant that does not take online reservations.
Set it up before the flight to Pearson
Do this at home with a stable internet connection. Airalo's advance-purchase guidance identifies that connection as part of installation.
- Match the exact phone to its maker's instructions. Use Apple's travel eSIM support, Google's Pixel dual-SIM guide or Samsung's eSIM support. Use the model and purchase region, not just "iPhone" or "Galaxy".
- Separate installation from the start of paid service. Read the package's activation policy before downloading it. Nomad's Canada instructions distinguish installing the profile from connecting at the destination; they also identify a purchase-to-activation deadline. Do not buy far ahead and forget that clock.
- Install through the provider's app, QR code or manual instructions. Keep those instructions accessible on another screen or saved locally. Label the lines "Home" and "Canada" so the next decisions are obvious.
- Choose the Canada line for mobile data. On iPhone, Apple's path is Settings, then Cellular or Mobile Data, then Cellular Data. Leave Allow Cellular Data Switching off. On Pixel, use Settings, then Network & internet, then SIMs, and select the data SIM; leave Automatic data switching off. See Apple's dual-SIM settings and Google's guide above.
- Keep the home line off for a data-only trip. That also means losing ordinary calls and SMS on that line, including verification texts. Arrange another sign-in method before leaving if you depend on them. Keeping your home number active needs a deliberate roaming decision.
The confusing setting is Data Roaming. Nomad instructs users to enable it on the Nomad travel line. That is not an instruction to enable roaming on the home line. Apply each provider's setup instructions to the correct SIM.
At Pearson: get online before leaving the terminal
Pearson's official free network is Toronto Pearson Public Wi-Fi. Open the landing page, accept the terms and connect. If the page does not appear, open a browser and visit a website, as Pearson's Wi-Fi instructions explain.
Use it to finish setup. Then turn Wi-Fi off briefly and load a fresh webpage over the travel line. A successful page load is a more useful test than signal bars. Do it before you leave the terminal.
For an in-person fallback, chatr's own airport page places its Terminal 1 arrivals kiosk beside CIBC and its Terminal 3 arrivals kiosk beside Tim Hortons. Pearson separately lists the Terminal 1 location in International Arrivals and the Terminal 3 location near the Information Booth, both before security.
The official opening hours disagree. Pearson lists both kiosks as 6 a.m. to 11 p.m. on its Terminal 1 and Terminal 3 pages. chatr's own airport page lists 6 a.m. to midnight for Terminal 1 and 9 a.m. to midnight for Terminal 3. Those are conflicting published hours, not a verified operating schedule.
Skip the airport-kiosk plan as your only connection strategy for a late arrival. Prepare an eSIM or a known home-carrier roaming option before flying. A physical SIM remains a sensible choice for a compatible phone without eSIM support, but it does not solve a closed counter.
Save the route beyond Union Station
UP Express lists Wi-Fi among its station amenities and connects Pearson with Union Station. Treat those connections as places to finish a task. Save your accommodation address, arrival instructions and a screenshot of the final route before leaving them.
Do the same before leaving the suite for dinner. Download large files on Wi-Fi and reserve mobile data for the street. Skip automatic photo backups over mobile data unless you have deliberately budgeted for them.
StayToronto's building pages list fast Wi-Fi in the suites. That helps indoors; it does not get you from Union to the right door. The pages for Atmos, Jarvis, Parade and York identify their addresses and inclusions. Save the exact address from your booking, particularly where one building label covers several entrances.
Before you go
- Check the selected Canada package's total price and currency, validity trigger, activation deadline, data allowance, hotspot rules, ordinary calls/SMS and any automatic renewal. Read any fair-use or reduced-speed conditions behind an "unlimited" label.
- Confirm your exact phone model and purchase region with its maker, then complete the provider's compatibility check before paying.
- Confirm Canada roaming and call/SMS charges with your home provider before keeping that line active. Apple warns that using a travel eSIM alongside the home line can still incur home-provider roaming fees.
- Recheck Pearson and chatr's kiosk listings for your arrival. The disagreement above is a reason to arrange a fallback, not choose whichever closing time suits the flight.
About this guide
Written by Declan Moss. Every factual claim here was checked against the linked official sources on 23 September 2026. Recommendations are editorial judgements, not network performance tests.
StayToronto is not affiliated with or endorsed by the mobile providers, device makers, Pearson or UP Express named here. This guide contains no affiliate links.
Keep the arrival details together
Save the eSIM instructions beside your Toronto arrival details. If you are still choosing a base, browse StayToronto's downtown stays, then keep the confirmed address available offline. The useful connection is the one that works when you step out of the terminal.
Frequently asked questions
Should I buy a travel eSIM or a Canadian SIM for a short Toronto visit?
Start with a Canada travel eSIM if you need maps and messaging apps. Choose a package that includes a Canadian number, ordinary calls and SMS if those matter to your trip. If Canada is already included in your home plan, use that service instead.
Can I install my Toronto eSIM before I fly?
Prepare it on a stable internet connection before departure. Follow the selected package's activation policy: installing the profile and starting paid service are separate decisions. Nomad's Canada instructions describe pre-installation and a purchase-to-activation deadline.
Should data roaming be on or off when I use a travel eSIM?
Follow the travel provider's instructions for that line. Nomad instructs users to turn roaming on for its travel eSIM. This does not mean turning roaming on for your home SIM. Keep the home line off for a data-only trip, or confirm its roaming terms if you need to keep it active.
Can I buy a physical SIM at Toronto Pearson late at night?
chatr sells physical SIMs and eSIMs at Pearson, but the published kiosk hours conflict. Pearson lists closing at 11 p.m.; chatr lists midnight. Arrange data or a known roaming fallback before flying rather than relying on a late-night purchase.
Will a data-only travel eSIM receive verification texts sent to my home number?
A data-only travel eSIM does not replace the SMS service on your home number. Turning off the home line also stops ordinary calls and SMS on that line. Arrange another sign-in method before departure if you depend on verification texts, or confirm home-provider charges before keeping the line active.